Android Google Map Marker Clustering Tutorial
Google Maps are a great way to show data. It might seem natural that the more geographical point Markers we add the better story it tells. But that’s not always the ideal case because once we’ve hundreds, even more, points the performance of Android application quickly begins to decrease. Let’s see an overloaded marker picture of Google Maps.
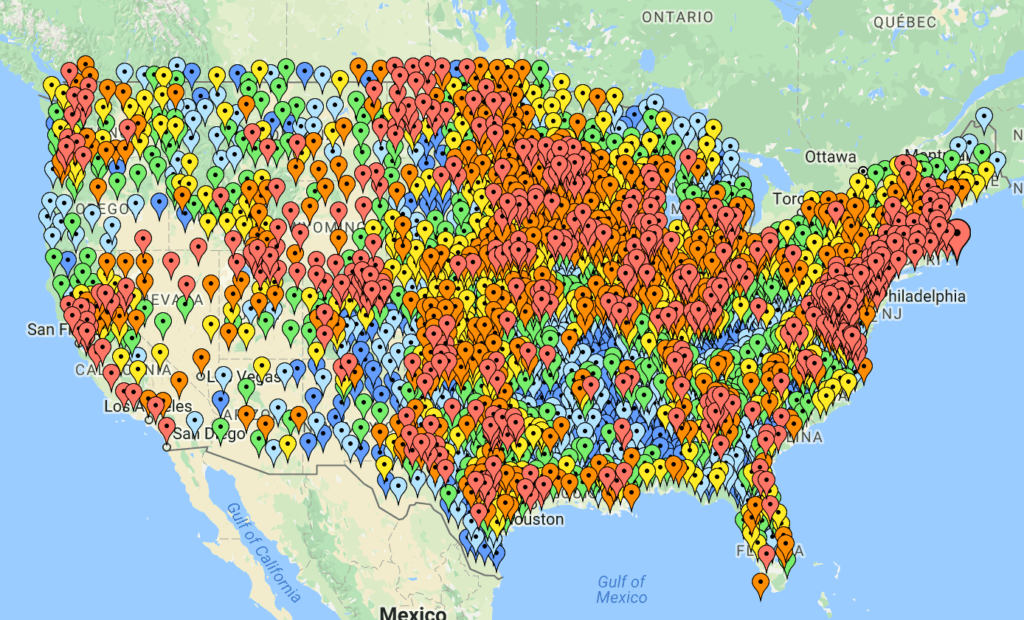 We all have probably seen a map picture like this. There are so many markers on Google Maps, you can’t even see the map. The colors of markers tell some different kind of story, but there’s so much to overlap with other icons that you might well just be missing other data.
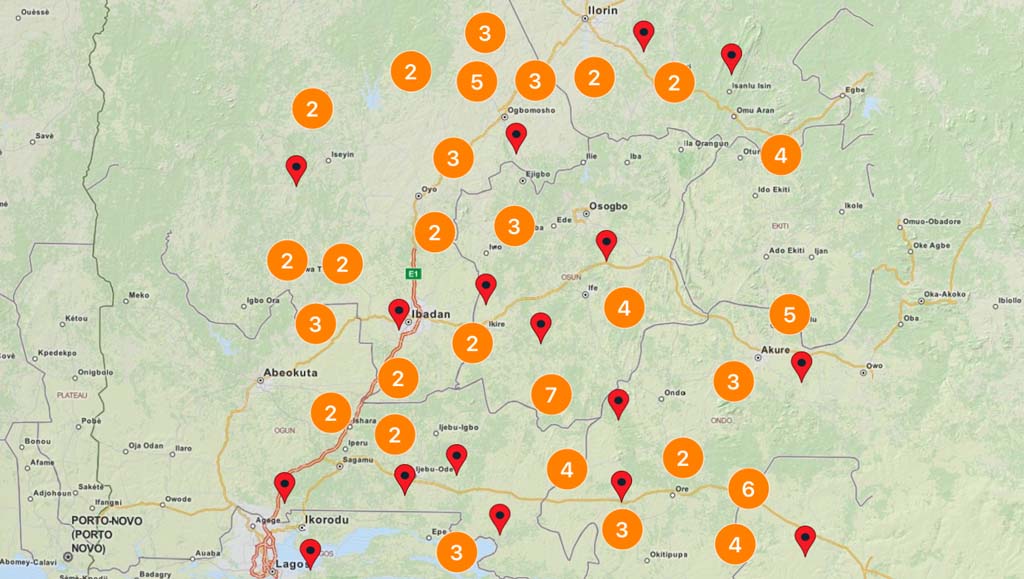
One way of getting rid of this problem to grouped (cluster) the marker’s on a Google Map and show only a specific amount of them. To see how marker clustering looks alike see the below picture.
![]()
The number on a cluster indicates how many markers it contains. Once we zoom onto cluster location we’ll able see the markers.
So, this tutorial shows you how to use marker clustering to display a large number of markers on Google Map in an Android application. Enough of this intro on marker clustering let’s dive into Android Studio and start building our application.
Note: I assume that you have successfully set-up Google Maps API in your Android app. If not, then visit Google Maps API get started section.
Getting Started
Before start coding our application we need to add the marker clustering util library (provided by Google) in the app-level build.gradle file.
dependencies {
    implementation fileTree(dir: 'libs', include: ['*.jar'])

    ........
    ........

    // MapV2 clustring marker dependency
    implementation 'com.google.maps.android:android-maps-utils:0.5'

    // Google play services location dependency
    implementation 'com.google.android.gms:play-services-location:16.0.0'
}
Sync the project and everything should be fine without any kind of gradle error.
Experiment with marker Clustering
Now that everything is done let’s see how the marker clustering done on Google Maps. The simplest way to show the cluster, first, we need to implement ClusterItem on our model class. Let’s create a simple User class that implements ClusterItem.
public class User implements ClusterItem {

    private final String username;
    private final LatLng latLng;

    public User(String username, LatLng latLng) {
        this.username = username;
        this.latLng = latLng;
    }

    @Override
    public LatLng getPosition() {  // 1
        return latLng;
    }

    @Override
    public String getTitle() {  // 2
        return username;
    }

    @Override
    public String getSnippet() {
        return "";
    }
}
Here’s what going on inside the above code.
- The ClusterItem returns the position of the marker, which later Google Maps use’s and show the marker. Must always return same LatLng position.
- Title of the marker which will be visible when you click on a single marker.
Next, we need to add the ClusterManager inside our MapActivity.
public class MapActivity extends AppCompatActivity {

    @Override
    protected void onCreate(Bundle savedInstanceState) {
        super.onCreate(savedInstanceState);
        setContentView(R.layout.activity_main);
        SupportMapFragment supportMapFragment = (SupportMapFragment)      getSupportFragmentManager().findFragmentById(R.id.map_fragment);  // 1
        supportMapFragment.getMapAsync(new OnMapReadyCallback() {  // 2
            @Override
            public void onMapReady(GoogleMap googleMap) {
                setUpClusterManager(googleMap);
            }
        });
    }

    private void setUpClusterManager(GoogleMap googleMap){
        ClusterManager<User> clusterManager = new ClusterManager(this, googleMap);  // 3
        googleMap.setOnCameraIdleListener(clusterManager);
        List<User> items = getItems();
        clusterManager.addItems(items);  // 4
        clusterManager.cluster();  // 5
    }

    private List<User> getItems() {
       ......  // returns the collection of users.
    }
}
Taking each commented section in turn.
- Obtain the SupportMapFragment from xml.
- Registering a callback to get notified when we’re ready to use Google Maps.
- Creates a new ClusterManager which later handles the clustering for our markers. Note the type of argument<User> which declares the
ClusterManagerto be of User type. - Feed the items to our newly created
ClusterManager. - Call the cluster method, you may want to call this method after feeding items to
ClusterManager.
Here’s the demo of our application with marker clustering and you can get the finished code for Default Marker Clustering from here.
Custom marker inside the Marker Clustering
Since weren’t satisfied with the default solution, we need to make some customization to our default setup. Now let’s say I need to change the red default marker icon which shows inside the Cluster Marker with my own custom marker. For that, we need to create a new ClusterRenderer with to extend the DefaultClusterRenderer class.
Here, let’s create a new ClusterManager class to show our custom marker instead of default ones.
public class MarkerClusterRenderer extends DefaultClusterRenderer<User> {   // 1

    private static final int MARKER_DIMENSION = 48;  // 2

    private final IconGenerator iconGenerator;
    private final ImageView markerImageView;

    public MarkerClusterRenderer(Context context, GoogleMap map, ClusterManager<User> clusterManager) {
        super(context, map, clusterManager);
        iconGenerator = new IconGenerator(context);  // 3
        markerImageView = new ImageView(context);
        markerImageView.setLayoutParams(new ViewGroup.LayoutParams(MARKER_DIMENSION, MARKER_DIMENSION));
        iconGenerator.setContentView(markerImageView);  // 4
    }

    @Override
    protected void onBeforeClusterItemRendered(User item, MarkerOptions markerOptions) { // 5
        markerImageView.setImageResource(R.drawable.location_vector_icon);  // 6
        Bitmap icon = iconGenerator.makeIcon();  // 7
        markerOptions.icon(BitmapDescriptorFactory.fromBitmap(icon));  // 8
        markerOptions.title(item.getTitle());
    }
}
Here’s what’s going on inside the MarkerClusterRenderer class.
- Extending the default renderer in order to customize the marker’s inside the cluster.
- Setting the constant value for the single marker size.
- IconGenerator a utility class to generate the Bitmap icon marker.
- Adding the child view for IconGenerator class and in our case the ImageView which simply shows the marker.
- Called before every
ClusterItemadded to the Google Maps. - Sets the drawable resource as the content of this marker ImageView.
- Generates the Bitmap of the previously custom view setting.
- Sets the icon for the marker.
Now we just need to set the instance of MarkerClusterRenderer class to our ClusterManager inside the MapActivity.
private void setUpClusterManager(GoogleMap googleMap) {
        ClusterManager<User> clusterManager = new ClusterManager<>(this, googleMap);
        clusterManager.setRenderer(new MarkerClusterRenderer(this, googleMap, clusterManager));
        ......
        ......
}
After adding the MarkerClusterRenderer class instance here’s the demo of our application with custom markers inside the Marker Clustering. You can get the complete code of Custom Marker Clustering from this link.

I hope this article will help you do custom Marker Clustering on Google Maps with Android application. Anything, I miss in this article please let me know via the comments section.
What’s Next
Show Custom Info Window On A Marker Click
Thank you for being here and keep reading…


How can I add another field to the marker, like the comment said, marker.getAuthor?
That’s gonna be useful
Hey Marc,
You cannot get the direct author from marker object. What you can do is to set tag object after the marker renderer on screen and get tag object from marker as a author. The following shows the example.
@Overrideprotected void onClusterItemRendered(User clusterItem, Marker marker) {
marker.setTag(clusterItem);
}
At the above clusterItem must be your author or any object you wanna store.
After that get the clusterItem at where you have access to marker object.
User user = (User) marker.getTag();If still your problem exists check out this link.