Basic Animation Of Android Views With Example
Building animation that makes on-screen objects seems alive may look like a high-level engineering at first, but you don’t need to ? fear. Animations were always holding off, not anymore. Android has a quite a few classes to help you create animation with relative ease.
Before to start, I just want to tell you that what are the properties of a view we can animate easily.
- alpha: Animate view’s transparency 0 stands for completely transparent and 1 stand to complete visibly.
- backgroundColor: You can animate the background color when changing the view color from some color to another random color.
- translations: Allows you to change the view position on a screen. When repositioning view on the screen you will use translationX and translationY.
- scale: Allows you to scale the view on x-axis and y-axis easily.
- rotation: Allows you to rotate the view on the screen. You can rotate the 360′ means full clockwise turn or opposite of clockwise.
Now let’s see them one by one how we can animate the view with the above properties.
1. Alpha
Instead of immediately set the alpha property to a view, which would cause it to blink from completely opaque to transparent, you should use animation.

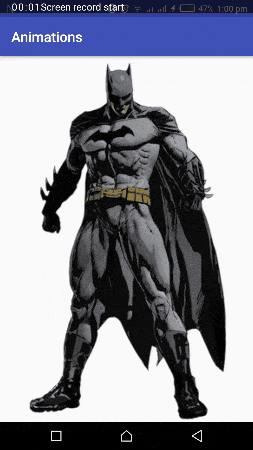
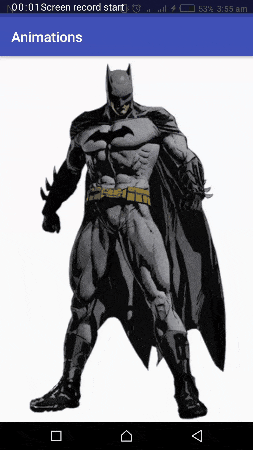
In the demo, you see when we tap on the image(Batman) it slowly fades away over two seconds. The above animation is just made with three lines code. The following shows the fade away animation code.
imageView.setOnClickListener {
            imageView.animate()
                    .alpha(0f)
                    .duration = 2000
        }
The animate method returns a ViewPropertyAnimator object which can be used to animate specific property on this view. Later on, the alpha method sets the transparency to a specified view and finally, the duration method animate the requested properties in the given timespan.
2. Background Color
Animating a view is pretty awesome, but so far you’ve animate only view with transparency. Now it’s time to change the background color with animation, we can simply use ObjectAnimator and ArgbEvaluator class.
Below is the animating background color code.
val objectAnimator = ObjectAnimator.ofObject(linearLayout, "backgroundColor", ArgbEvaluator(), ContextCompat.getColor(this, R.color.colorAccent), ContextCompat.getColor(this, R.color.colorPrimaryDark))
objectAnimator.repeatCount = 5
objectAnimator.repeatMode = ValueAnimator.REVERSE
objectAnimator.duration = 600  // default is 300.
objectAnimator.start()
The ObjectAnimator.ofObjecttakes the following arguments.
- linearLayout: The object whose property is to be animated.
- backgroundColor: The name of the property being animated.
- ArgbEvauator: This evaluator can be used to perform type interpolation between integer values that represent ARGB colors.
- Specify the colors start to end.
The repeatCount sets how many times you want to repeat this animation then the repeatMode which define what the animation needs to do when reaches to end. Finally, sets the duration and start the animation.
3. Translations
Like I said earlier, we use translations to change the view position from one point to another point. For the example, let’s see how we can slide the view on the x-axis with animation.
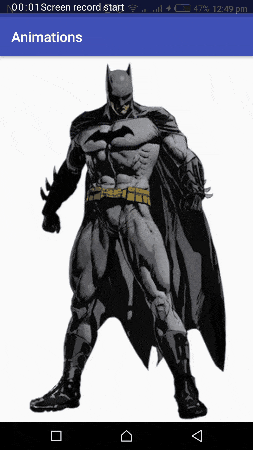
In the above demo, you see we’ve got the image(Batman) and when taps on an image it slides left. The following shows the slide left translation code.
imageView.setOnClickListener {
            imageView.animate()
                    .translationXBy(-1000f)
                    .duration = 2000
        }
The translationXBy reposition the specified view at x-axis from its current position to newly specified value and the duration method animate the x-axis translation in a given timespan.
Now let’s take another example, here, I want to animate the image at the bottom of the screen. Below is the sample code of y-axis translation animation.
imageView.setOnClickListener {
            imageView.animate()
                    .translationYBy(1000f)
                    .duration = 2000
        }
The translationYBy reposition the specified view at y-axis from its current position to newly specified value. There are other methods of translation in ViewPropertyAnimator class I encouraged you to check it out.
4. Scale
It allows the views to scale by x-axis and y-axis independently, or you can call both with the same values to animate the view’s size. Now let’s say we want to shrink our image to half when the user taps on it.
Below is the sample code to scale the image to half of its size with animation.
imageView.setOnClickListener {
            imageView.animate()
                    .scaleX(0.5f)
                    .scaleY(0.5f)
                    .duration = 2000
        }
The scaleX and scaleY methods scale the image on x-axis and y-axis respectively with the specified values in the timespan of two thousand milliseconds.
5. Rotation
Until now we’ve only animated the view position, scaling and setting the view transparency. Now it’s to see some rotation of view with animation. The rotation property also allows you to rotate in 3D. Let’s rotate our image in 360′ when the user presses on it.
The following shows the code of how to rotate the view in 360′.
imageView.setOnClickListener {
            imageView.animate()
                    .rotation(360f)
                    .duration = 2000
        }
The rotate method property rotates the view with the specified value.
Thanks for reading the article, any suggestions, comments, and corrections are always welcome. If you like it share it with Android community. Let’s share the knowledge as much as we can.
In the next article, we’ll see how we can animate multiple properties on a single view with AnimatorSet. See you in the next article…