Make A Command-line based Image Re-sizer in Python 3 using Pillow
Python is a general-purpose programming language. It is so popular in software developers and has a vast number of plugins available to play with. It has a huge community to support new learners.
In this article, we will see one of its plugin called “Pillow”. Pillow is an Imaging Library used o work with images, such as resizing, applying filters and playing with colours in the image. We’ll develop a small, command-line based application which will able to resize all the images in a folder. The user will have the choice to pass different arguments while running the application, the choice to save resized images as a copy or to replace the original files and the choice to choose the type of resize from simple resize or force resize. The force resize is used when the size of the original image is less than the new resize, in this case, we will simply make an empty image with a background of white colour and then paste the original image on it. Now, let’s start developing.
We will use Python 3 to develop our application. Either version of Python 3 will work but I will recommend you to use the Python 3.6 as it is the most stable version of Python 3, but the latest version Python 3.7.2 (at the time of writing) should work flawlessly. If you have not already installed the Python 3, then first download and install it. Make sure you have set up the path for the language. The Pillow is not bundled with Python and we have to install it manually using pip. The pip is the package manager which install along with the Python. To download Pillow, open command line and type pip install pillow, wait for few seconds and let it install. Now we are ready to actually develop our application.
Make a new folder somewhere on your PC or Mac. Now open your favourite text editor or IDE and save a blank file, let’s name it script.py, also create a new folder with name images inside the folder which contains the script file.
Now, let’s define our command-line arguments which we will use while running our application. The application will have five command-line parameters. The first parameter will be the program file name (script.py is our case), the second parameter will be used for mode, there will be two types of mode, the first is replace, which will replace the resized images with the original images, the second is copy, which will save the resized images with a prefix “resized”, the third parameter will be used for type, there will be two types, one is normal which means that the program will simply resize the images and will skip those images which will have less size than passed by user as parameter, the second will be forced, which will paste the image on a blank background to match the size passed by user, the fourth and fifth parameter will be used for width and height respectively. See the examples below of passing command-line arguments to the application.
General syntax: “python
name-of-script mode type width length”
Example 1: “python script.py copy normal 1600 1200”
Example 2: “python script.py replace forced 1024 768”
Let’s start writing the code now, we will need three imports in our script, the “import os” which will be used to work with directories and files, the “import sys” which will be used to work with the command line arguments and “from PIL from Image” which will be used to work with images.
Next, we have to check if the number of parameters is exactly five in length. For this, we will use the built-in “len” function of Python. The following lines of code will import three libraries we discussed above and also checks if the length of the parameter is five in length.
import os
import sys
from PIL import Image
arg_param_valid = True
if len(sys.argv) != 5:
arg_param_valid = False
Now, we will take the command-line parameters in different variables. Also, we have to tell the application that in which folder our images are placed.
if arg_param_valid:
arg_mode = sys.argv[1]
arg_type = sys.argv[2]
arg_width = int(sys.argv[3])
arg_length = int(sys.argv[4])
folder = "./images"
As you can see, I have taken the mode from command-lines first index, because the name of the script is in 0th index, and we don’t want the name. The 6th line is telling the application that our images are placed in the images folder.
Now, see the following lines of code.
for file in os.listdir(folder):
newName = file
if arg_mode == "copy":
newName = "resized_" + file
current_file = os.path.join(folder, file)
current_image = Image.open(current_file, 'r')
current_image_width, current_image_height = current_image.size
current_file = os.path.join(folder, newName)
Here is the explanation of the above lines. The first line is used to loop on all files placed in the images folder. The second line is to get the name of the current file in “newName” which is currently being processed. The third line is checking if the mode is “copy“, if so, then it will add the prefix “resized” to the “newName”. The fifth line is to get the relative path of the image being processed, the sixth line is opening the current image, the seventh line is getting the width and height of the image, and lastly, the eighth line is updating the current_file to reflect the change in newName if the mode is “copy“.
It is now time to apply actual magic. The following lines of code will normally resize or forced resize the images.
if arg_type == "normal":
if arg_width <= current_image_width and arg_length <= current_image_height:
save_normal(arg_width, current_image_width, arg_length, current_image_height, current_file)
The above code is checking that if the type is normal, then simply resize and save the image after verifying if the width and height we passed as command-line arguments is equal or less than the width and height of the image. We have to make this check because we will not forcibly resize the images in normal mode. We will do this in forced mode. The following is the implementation of “save_normal” method.
def save_normal(arg_width, current_image_width, arg_length, current_image_height, current_file):
new_image = current_image.resize((arg_width,arg_length), Image.ANTIALIAS)
new_image.save(current_file)
The method is simply resizing the image and then save it. The Image.ANTIALIAS is used to tell the resize method to save as best possible quality. You can read further about it here. Make sure to write this method just below the from PIL import Image.
The following lines will process the forced mode. Write then just below the
if arg_type == "normal":
elif arg_type == "forced":
if arg_width <= current_image_width and arg_length <= current_image_height:
save_normal(arg_width, current_image_width, arg_length, current_image_height, current_file)
else:
save_forced(arg_width, current_image_width, arg_length, current_image_height, current_file)
The if-part is exactly the same as normal mode. We just have to see the else-part here. Write the implementation of “save_forced” just below the “save_normal” method.
def save_forced(arg_width, current_image_width, arg_length, current_image_height, current_file):
new_image = Image.new('RGB', (arg_width, arg_length), (255, 255, 255, 255))
offset = ((arg_width - current_image_width) // 2, (arg_length - current_image_height) // 2)
new_image.paste(current_image, offset)
new_image.save(current_file)
The method above is simply making a blank image with white background, calculating the centre of this newly created blank image and then pasting our image which we want to resize in the centre, then simply save it. The complete code is written below.
import os
import sys
from PIL import Image

def save_normal(arg_width, current_image_width, arg_length, current_image_height, current_file):
new_image = current_image.resize((arg_width,arg_length), Image.ANTIALIAS)
new_image.save(current_file)

def save_forced(arg_width, current_image_width, arg_length, current_image_height, current_file):
new_image = Image.new('RGB', (arg_width, arg_length), (255, 255, 255, 255))
offset = ((arg_width - current_image_width) // 2, (arg_length - current_image_height) // 2)
new_image.paste(current_image, offset)
new_image.save(current_file)

arg_param_valid = True
if len(sys.argv) != 5:
arg_param_valid = False
if arg_param_valid:
arg_mode = sys.argv[1]
arg_type = sys.argv[2]
arg_width = int(sys.argv[3])
arg_length = int(sys.argv[4])
folder = "./images"
for file in os.listdir(folder):
newName = file
if arg_mode == "copy":
newName = "resized_" + file
current_file = os.path.join(folder, file)
current_image = Image.open(current_file, 'r')
current_image_width, current_image_height = current_image.size
current_file = os.path.join(folder, newName)

if arg_type == "normal":
if arg_width <= current_image_width and arg_length <= current_image_height:
save_normal(arg_width, current_image_width, arg_length, current_image_height, current_file)
elif arg_type == "forced":
if arg_width <= current_image_width and arg_length <= current_image_height:
save_normal(arg_width, current_image_width, arg_length, current_image_height, current_file)
else:
save_forced(arg_width, current_image_width, arg_length, current_image_height, current_file)
else:
print("The length of parameter is not valid.")
Now, we will look into all four possibilities to run the application.
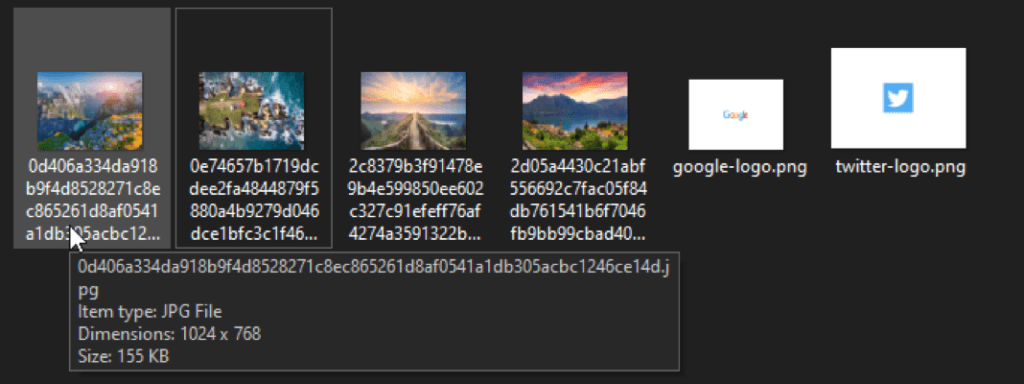
I have placed 4 wallpapers and two logos in the images folder.
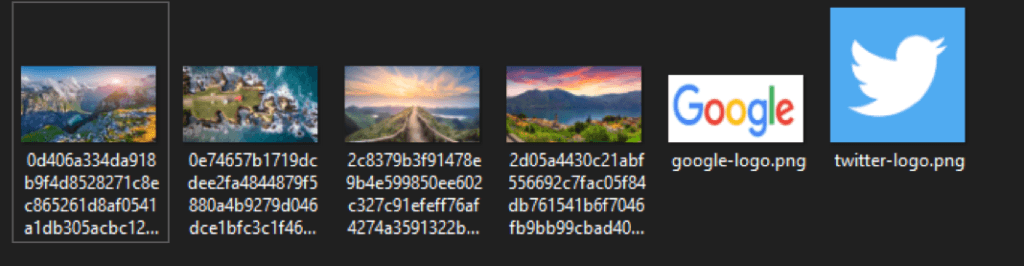
1. python script.py copy normal 1024 768
The output of folder after running:

You can see that the logos are not resized because their resolution is less than the resolution we passed as the argument.
2. python script.py copy forced 1024 768
The output of folder after running:
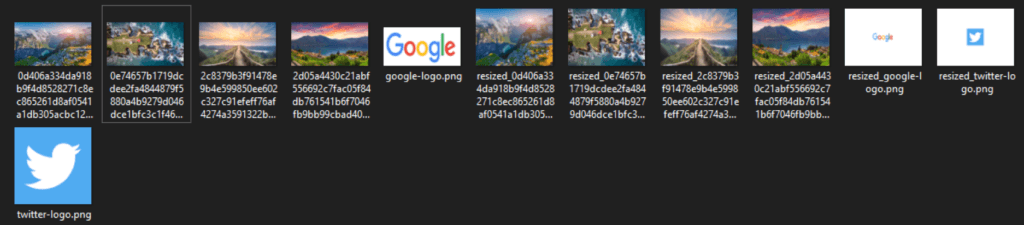
You can see that the logos are forcibly resized.
3. python script.py replace normal 1024 768
The output of folder after running:
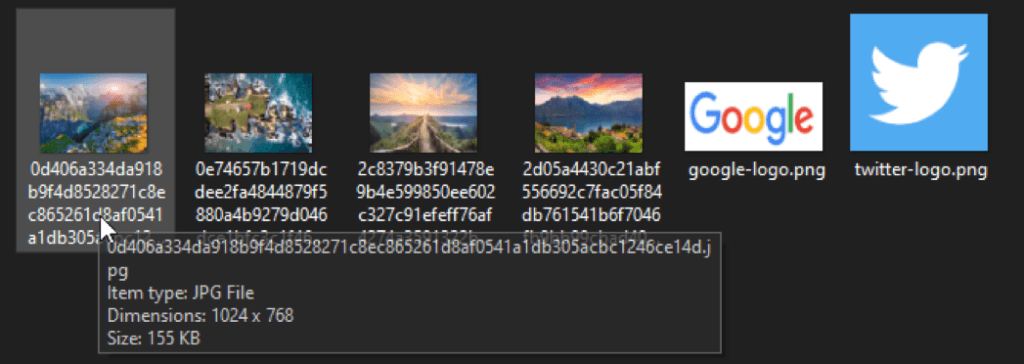
You can see that wallpapers are resized and replaced the original images, but logos are not resized.
4. python script.py replace forced 1024 768
The output of folder after running:
You can see that the images are replaced along with the two logos.
This is the end of the article, see you in the next python article.
Here’re some more related Article:
— Best Python IDE and Code Editors