Sending SMS using Python and Twilio API – Tutorial
Send SMS using Python, we will create a simple GUI to send SMS using Python. We will use the Twilio API to send a message. Twilio is not a free service but they provide a trial account with some credit that we can use to demonstrate how powerful it is.
Python is a famous scripting language and we can write scripts to do whatever we want. Python has rich community support due to which we have a huge number of libraries and APIs available to achieve our tasks. This makes Python a versatile and popular language.
In order to get started, we need to make an account in Twilio. Twilio provides communication APIs for SMS, Audio, Video, and Authentication.
Create a Twilio account
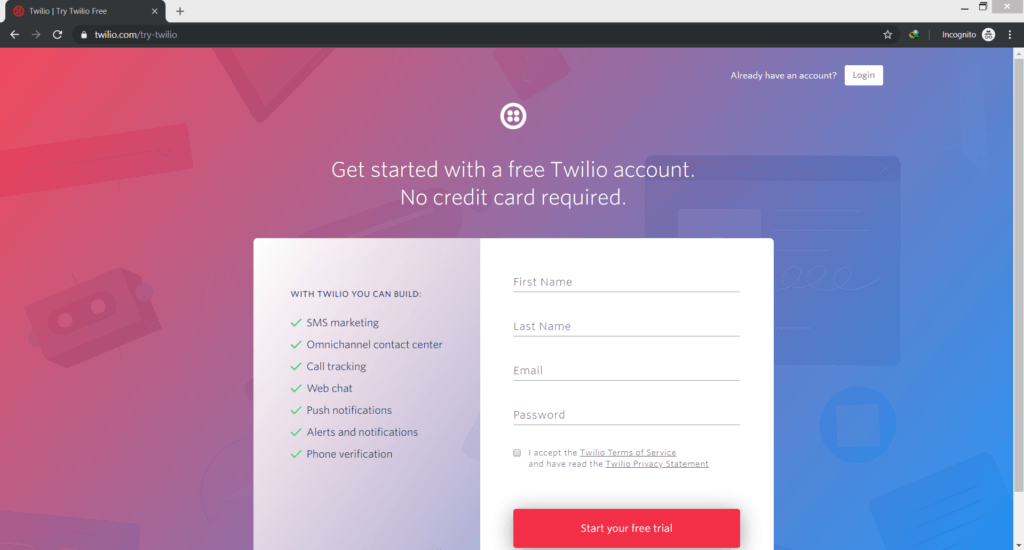
Goto Twilio Registration Page. Complete the registration steps by providing the required details.
After creating an account. Head towards the Twilio Console. You will see a page like the following.
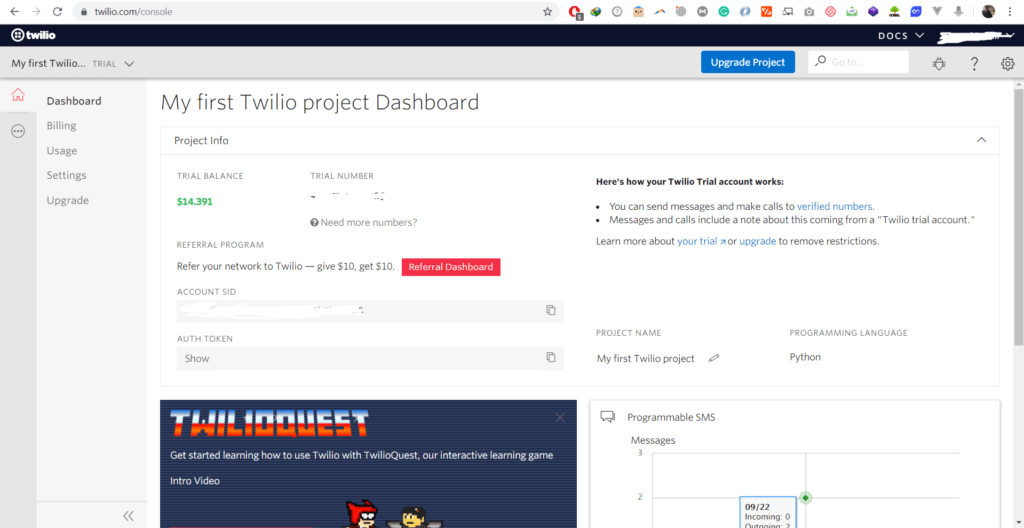
As I have already taken the trail number, but you will see a Get a Trail Number button. Click on it, get your number. Then you need to copy 3 pieces of information:
- Account SID
- Auth Token
- Trial Number
Save these somewhere else as we will be using it in our code.
Required Libraries
In order to follow along, you need the following libraries:
- tkinter module (built-in)
- twilio library
You can install the Twilio library using pip.
pip install twilio
Or you can add this library to your project using PyCharm.
Create pycharm project
- Open PyCharm and create a simple Python project.
- Goto Files>Settings or press CTRL+Alt+S
- Locate Project:[Your-Project-Name] > Project Interpreter
- Click on the + button.
- In the search bar, type Twilio and install it.

After adding the library, create a file named app.py
Creating GUI for sending SMS
Now that you have created an account on Twilio. Let’s leverage it. Now, we are going to create a simple Tkinter GUI app to send the message. The widgets we are adding to our GUI are:
- A label to show as the header.
- Top Frame and Bottom Frame
- Widget for entering the receiver number
- Entry widget to write SMS
- A button to send SMS
Here is the code.
import tkinter
import tkinter.messagebox
from twilio.rest import Client
class SMSGUI:
    def __init__(self):
        #Create root window
        self.root = tkinter.Tk()
        #Set title of root window
        self.root.title("SMS CLIENT")
        #Create top frame
        self.top_frame = tkinter.Frame(self.root)
        #Create bottom frame
        self.bottom_frame = tkinter.Frame(self.root)
        #Create a label
        self.header = tkinter.Label(self.top_frame, text = "SMS Sending App")
        #Pack the label
        self.header.pack(side = 'top')
        #Label for TO number
        self.to = tkinter.Label(self.top_frame, text = "To: ")
        self.to.pack(side = 'left')
        #Create an entry widget for TO: number
        self.toNumber = tkinter.Entry(self.top_frame, width = 20)
        self.toNumber.pack(side = 'left')
        #Create an entry widget
        self.message = tkinter.Entry(self.bottom_frame, width = 150)
        #Create button
        self.send = tkinter.Button(self.bottom_frame, text = "Send SMS", command = self.sendSms)
        #pack message entry and send button
        self.message.pack(side = 'left')
        self.send.pack(side = 'left')
        #pack frames
        self.top_frame.pack()
        self.bottom_frame.pack()
        tkinter.mainloop()
The above given piece of code will create a simple GUI through which we will send SMS.

Adding event listener (Call Back Function) for button
Now that we have created the GUI for our SMS app. Let’s add code to bring it to life. For this, I am writing a method named sendSms. Add the following method to the class SMSGUI.
    def sendSms(self):
        account_sid = 'your-sid'
        auth_token = 'your-auth-token'
        client = Client(account_sid, auth_token)
        msg = str(self.message.get())
        rec = str(self.toNumber.get())
        message = client.messages.create(body=msg,from_='your-trial-number',to= rec
        )
        print(message.sid)
        tkinter.messagebox.showinfo('Success', 'Message sent successfully')
Replace account_sid with your Twilio’s account_sid. Similarly, replace auth_token with your Twilio’s auth token on line # 2 and 3 respectively.
On Line # 5 and line # 6, we get the text from the entry widgets of the message and recipient number by using the entry widget’s get() method. Then, we are using Twilio’s client module’s method to create message. There are three parameters:
- body – which represents the body of the message
- to – represents the recipient’s phone number. Make sure you use the “to” number as the same number with which you have registered on Twilio. Otherwise, you can verify the number from console first and then use. This limitation is only for a free account.
- from – is the number which Twilio has given to you when you have clicked Get a Trial Number.
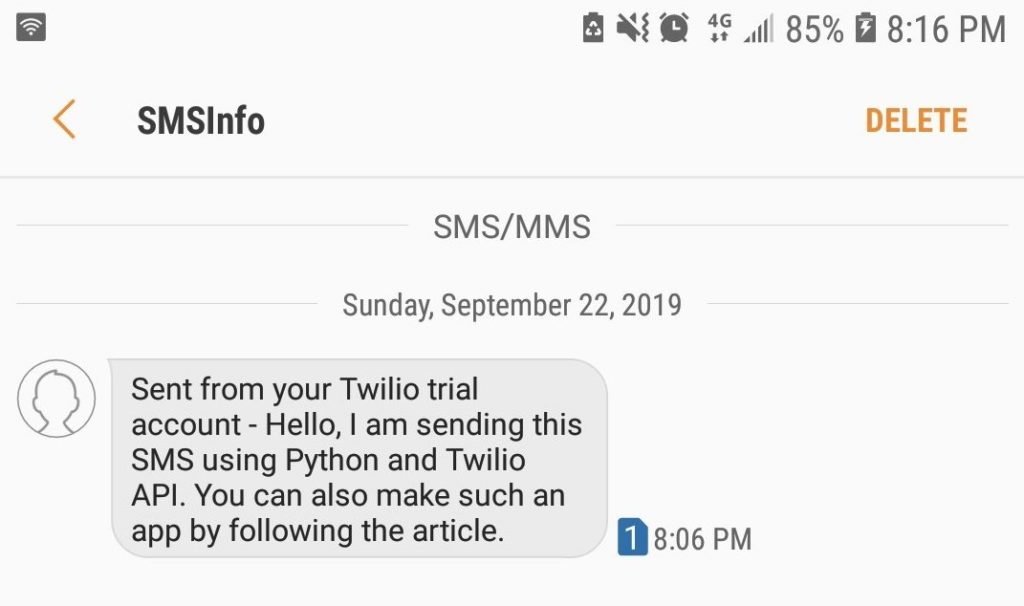
Demo
Here is the SMS I have received.
You can see how easy it is to write scripts with Python. Stay tuned for some interesting scripts.
Here’re some more related Articles:
— Best Python IDE and Code Editors
— Make A Command-line Based Image Re-sizer In Python 3 Using Pillow